Saturday, August 27, 2011

A little touch up work

Since Pete has the brake pads up in Pseudo-Wisconsin I thought I could get some other minor things taken care of, mainly touchup some paint that we ripped off from duct taping some stuff on the front, and remove Patrick from the car since he is driving for another team to make room for Albert's.

All in all looking over the paint, the purple has held up rather well, esp

ecially for it just being high gloss latex house paint. For other teams debating what to paint with, have to say house paint actually works pretty well. A gallon of paint is way more than you'll need and be cheaper to paint the car with than a bunch of cans spray paint, or cans of rustoleum, and if you plan to change themes every couple years should last plenty long for that. Plus I think if I try I might be able to peel it all off in one sheet.

Anyway on to the pics.

Touched up the front, not really that great a job, but will work for 50 at 50.


Here is the door with last years line up

After a little paint(sorry Patrick) some time to dry and its all set for whatever name Albert decides should be painted on the side(figure give him the option to put a name that will allow him to deny he has anything to do with the car)


Saturday, August 20, 2011

a breath of fresh air.

Today I finally got around to doing an update that I wanted to do to this car before we even bought the car. Having figured out the budget for this year, and knowing that we have plenty of room to fit the $25 the Duff spent for this, I figured today would be a good day to put the new used intake in.

While before we bought the car it took several days and several people to take the stock one apart, I've since upgrade my tools to a decent socket set. (not a hand me down $9.99 made in Taiwan set) It even had the proper sized socket needed to take it apart. (5.5mm which incidentally is also the size you need to take the coils off the ICM) So it all came apart incredibly easy Did take a little bit of feeling around to remove the part that mounts to the body which was held on incredibly well for something that really doesn't need a lot of structural support to function. Although each componenet did seem to weigh as much as the new intake.


Putting the new one in was even easier. a few miuntes a couple of turns of a screw driver and its in and looks like its been there for years. I think the fact that its used gives it that not brand new part look.


The most important thing is that it sets a good example for the rest of the parts in the car. Give us trouble and and off the junkyard for you.


Tuesday, August 16, 2011

It's all custom and stuff.

Back in November I traded some interior pieces for a Strut bar to be made later. Later arrived this Sunday.

Unfortunately while Silent Wing and Luke from A-body.net came over to work on it there was a work emergency that had me stuck inside. So no pictures of the work, but it did magically get built, and here is a pic of it after it was on the car.


Of course the first thing I do after the installation is take it off.


While the bare metal screams Lemons Fab work, I thought it would be best to get some paint on there before all the additional structural rigidity turns to rust.

So some Rustolium semi gloss spray paint that was on sale later.


And back on the car, where from a distance it looks nice, but up close where the judges would look its clearly homemade with a pretty awful spray paint job on it. Just what you want for Lemons.


Saturday, August 6, 2011

Time For Some New Struts

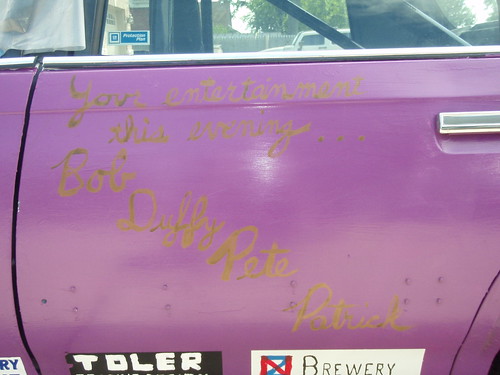
So last year as we pulled the car off the trailer Judge Phil and Judge Sam came by to see the car and after pushing down on the hood and watching it bounce, they told us to go to the parts store and replace them. We told them we had replaced them and that these were better then what was on the car when we got it.
We did agreed that they should eventually be replaced, but decided to run with what was on the car.

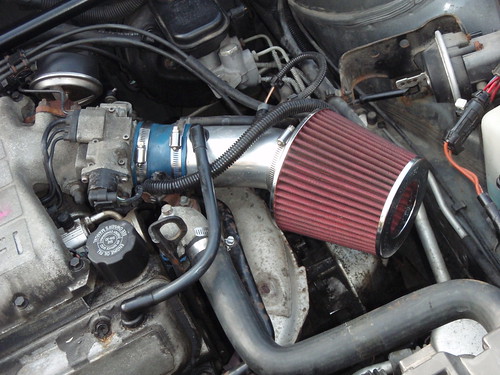
Well eventually is here;

IMG_20110806_131424

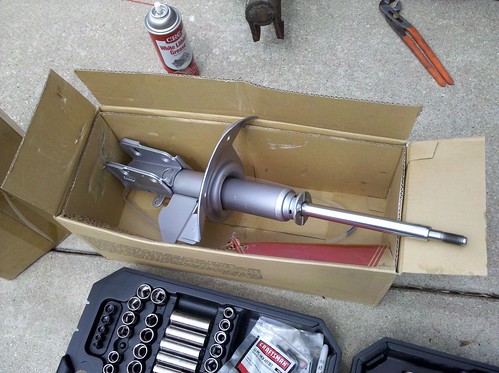
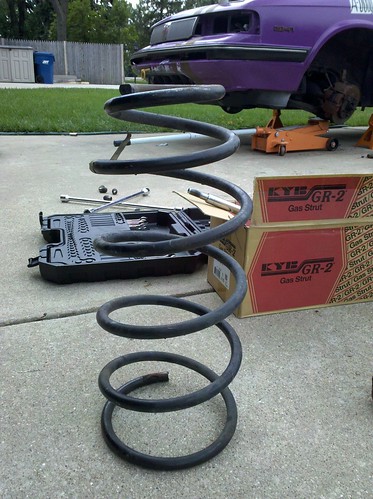
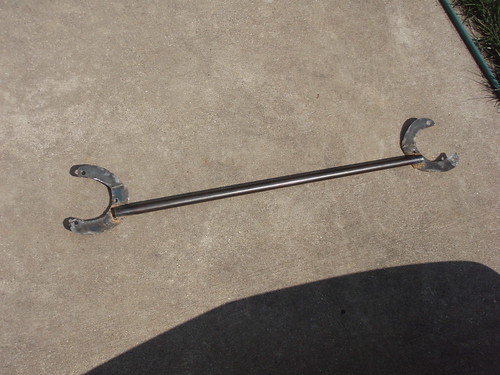
Look how shiny they are.

So we thought this should be pretty straight forward, at least more so then fixing our fuel system issues.

Compress the spring, undue the bolt at the top, insert new strut, tighten bold, reinstall

IMG_20110806_131333
IMG_20110806_135522


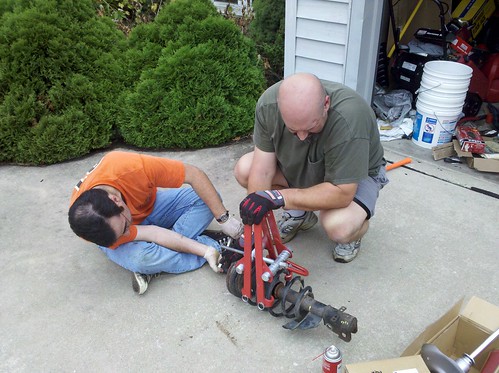
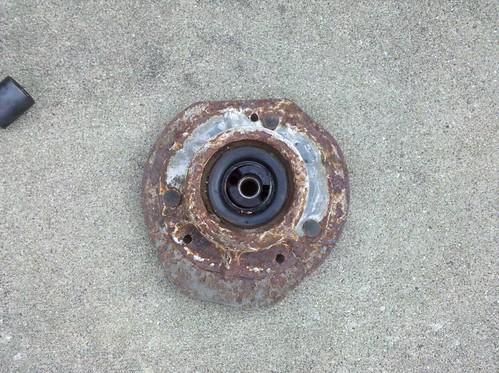
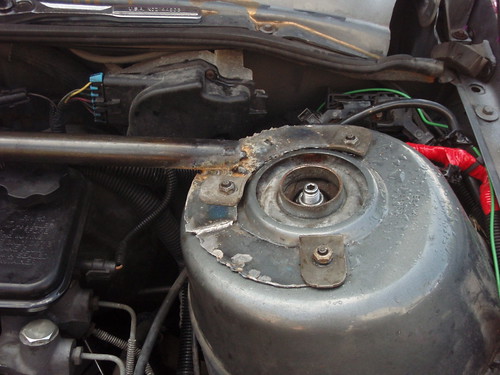
So the spring is compressed enough to remove the top plate, after some effort we get the nut off the top and then fine this;

IMG_20110806_135529

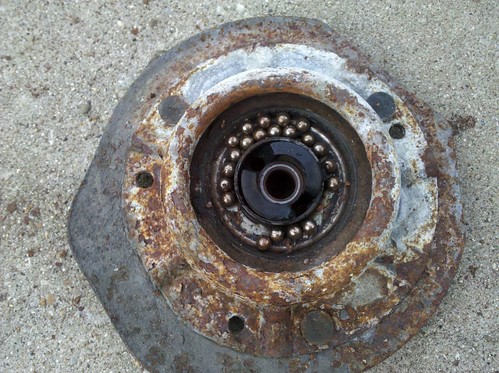
The seal with the ball barrings in it was broken, little balls all over the driveway.

So before we took the 2nd one apart, we thought we would see what the cost of  a new part would be. If  I remember correctly the whole top plate was about $55.

But wait we have 2 even worse complete struts in the shed.

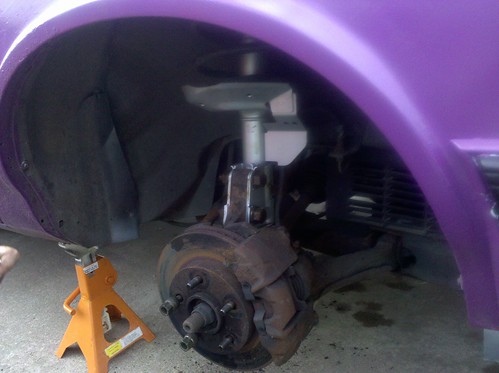
So we decided to remove the other strut from the car and would then take apart the 2 in the shed if we needed parts.

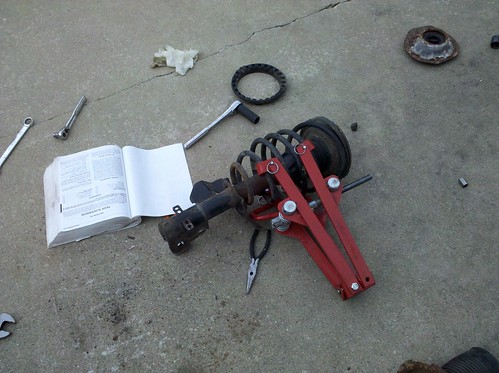
So we un-compressed the first spring,

IMG_20110806_135555

This would come to be an issue later, but we were unaware of that at the time.

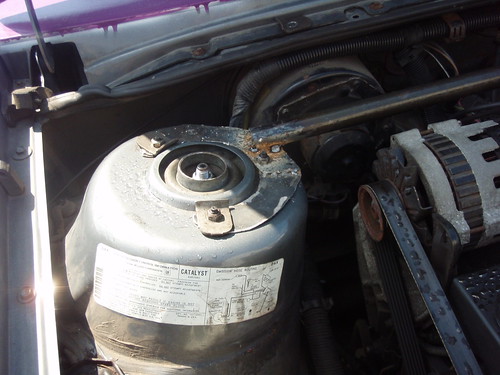
So we worked on the other strut, took the top plate off

IMG_20110806_135538

Barrings intact :)

Put it all back together and installed it on the car.

IMG_20110806_172931

We then take apart one of the even worse struts, and the top plate and barring are intact, go to compress the fully uncompressed spring and run into issues.

Our spring compressor can not compress the spring enough for us to install it on the new strut.

We decide to see if any of the auto repair shops in the area were still open, it was about 4p. Our odds that a reputable shop would be open were slim.

So we put the parts in the trunk and take a drive, the first place we stopped said they did struts on the sign on the outside, but the guy told us he didn't do struts.

So we drove off to somewhere else we though we may find some help, and spotted a garage that was open with 4 guys just sitting in one of the bays talking.

We get some strange looks as we pull up, but this is the place we needed to be.

The  one guy asked us if we had used a strut compressor before, and we said no.

None of the other guys sitting around had used it before, or just didn't want to help us.

So the first guy starting helping us until his "nephew" showed up with some bootleg movies, he then said if you do it your self its free.

Having see how the compressor worked we got the strut and the spring compressed, had to borrow some tools to get the nut on the top.

Thanked the guy and gave him $20 for the use of his shop as we walked out.

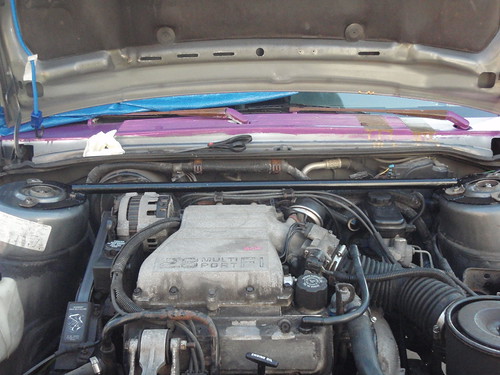
Got back to the car and installed it.

IMG_20110806_145156
 
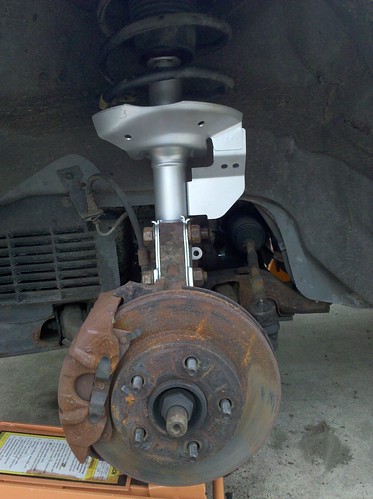
After we put the tires on and put it down , we pushed down on the front end and it sure dose bounce a lot less then it used too.

Wednesday, August 3, 2011

Quick News Update

Its official we've been accepted to the October 8th-9th Lemon's race in Joliet Showroom-Schlock Shootout. So if your racing it or coming to watch be sure to stop by and say hi.

We would also like to formerly Welcome our new Driver for the race Albert. We look forward to seeing all the skills in driving and wrenching that he possess that are greater than ours.(pretty much any skills in these areas will best ours)

Also the all important Bribe preparation has begun. The Brewmeister I'm sure will post in detail of this. (Pete this means you have to make another blog entry)

After some accounting we've come up with a plan of we can upgrade still on the car and are awaiting some parts, so more on that when we start the work.

In closing since I hate these all text updates here is a commercial from south of the border for the Chevrolet Century SS. (In Mexico the A-bodies names and trims are all different but their cars at least in their commercials seem cooler)